24/7 monitoring with Nubo Sphere
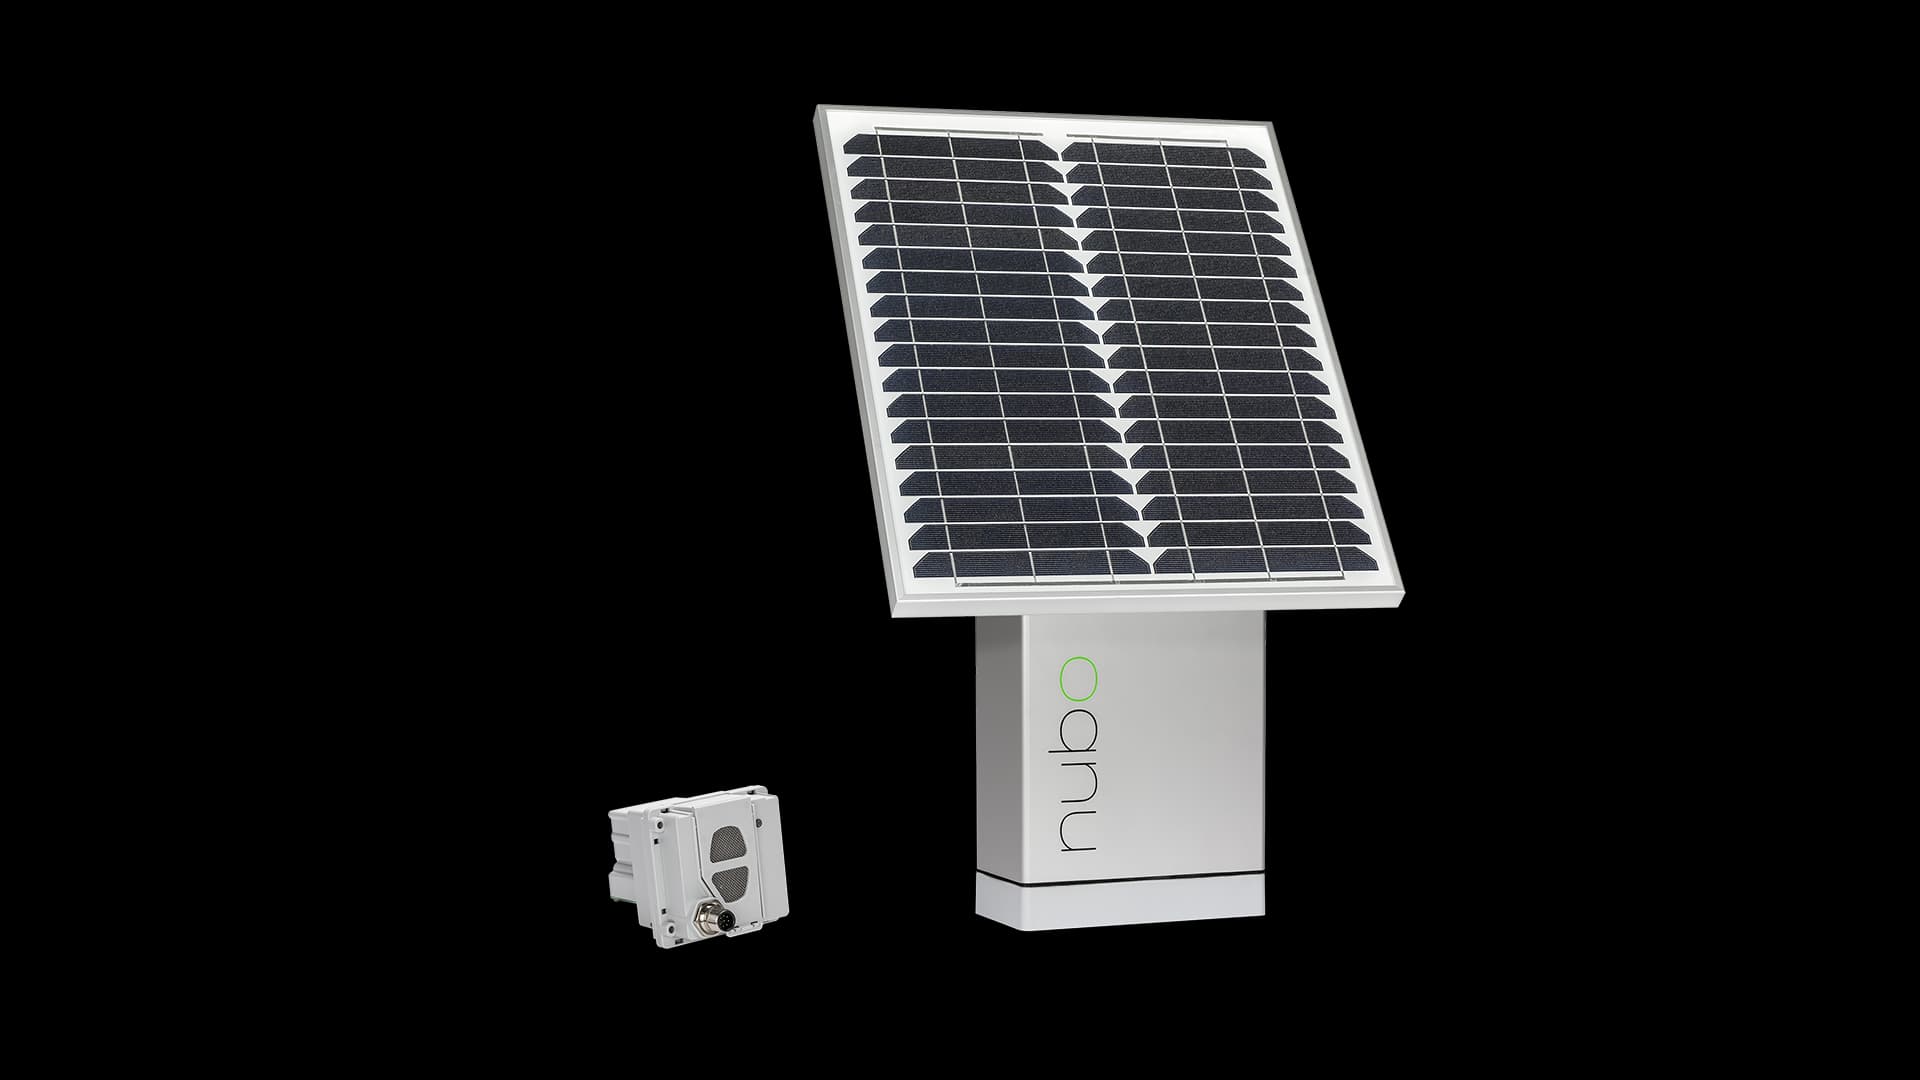
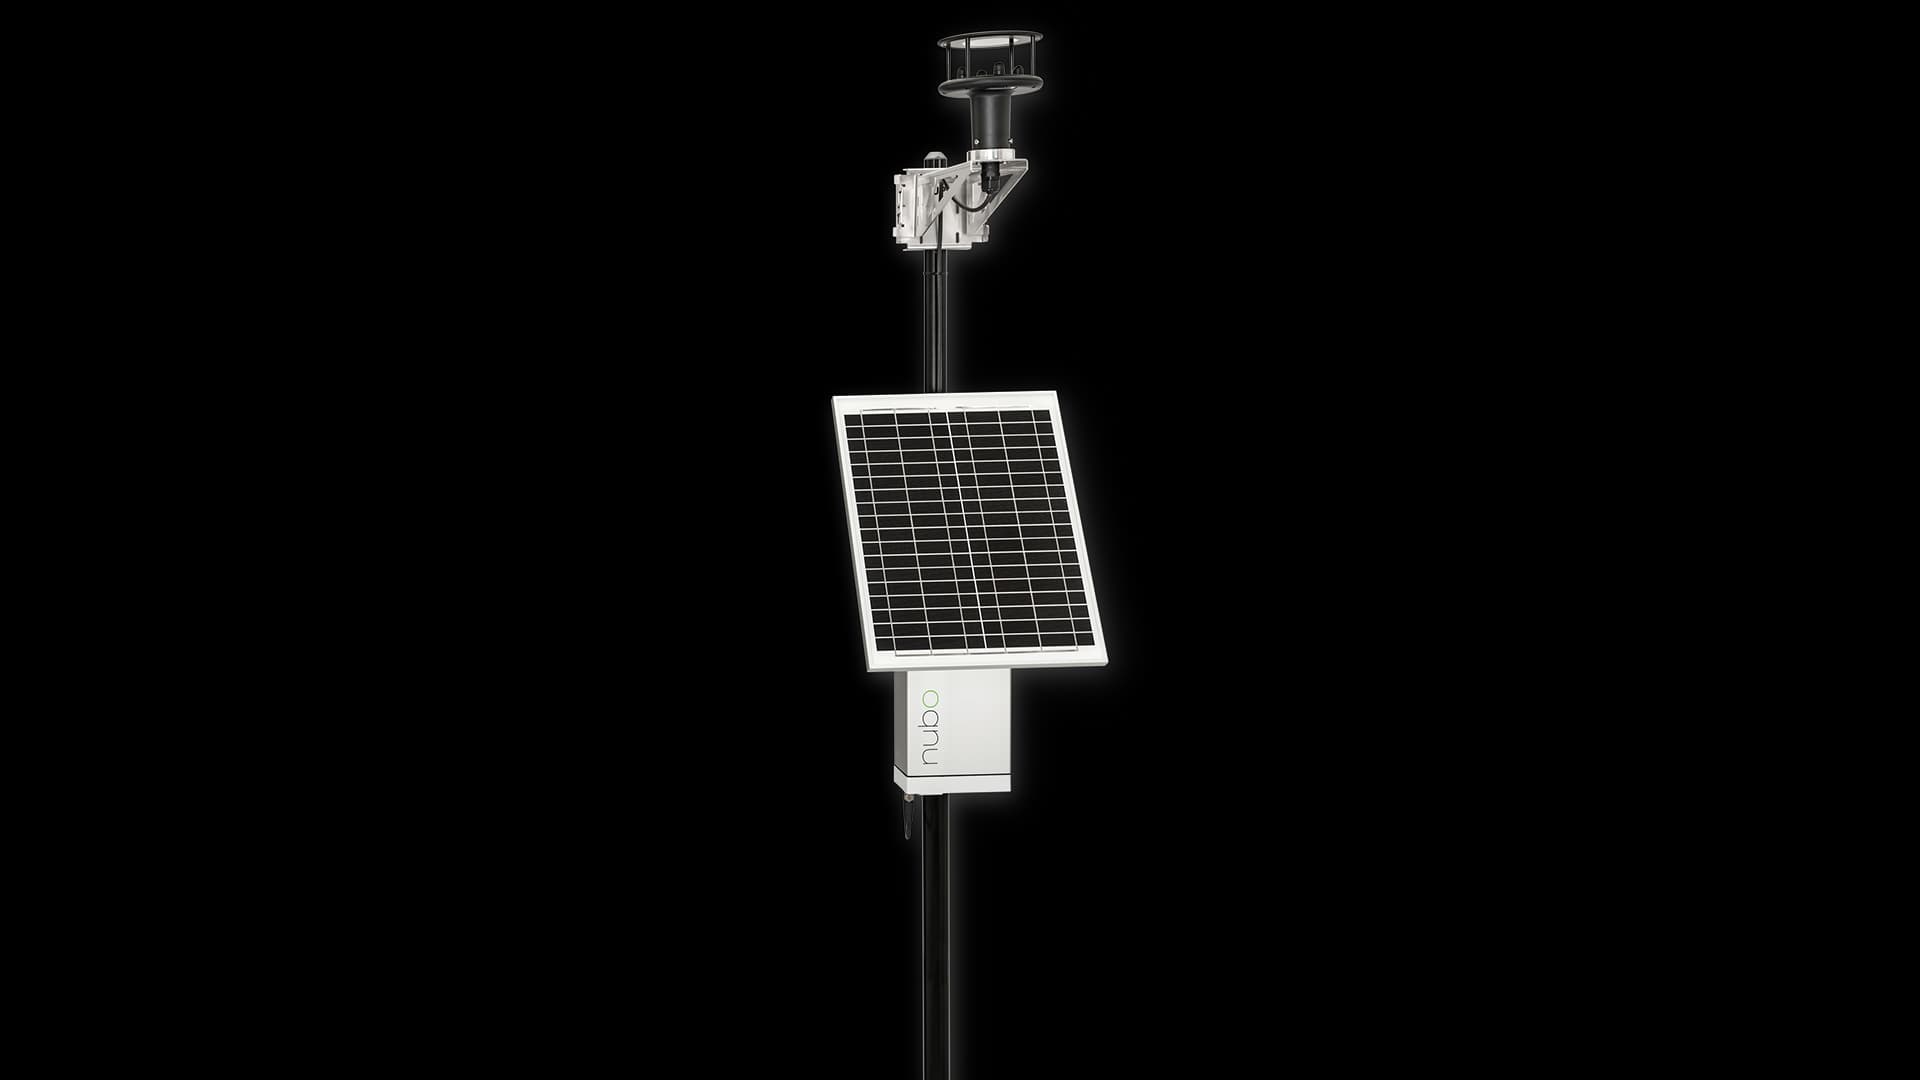
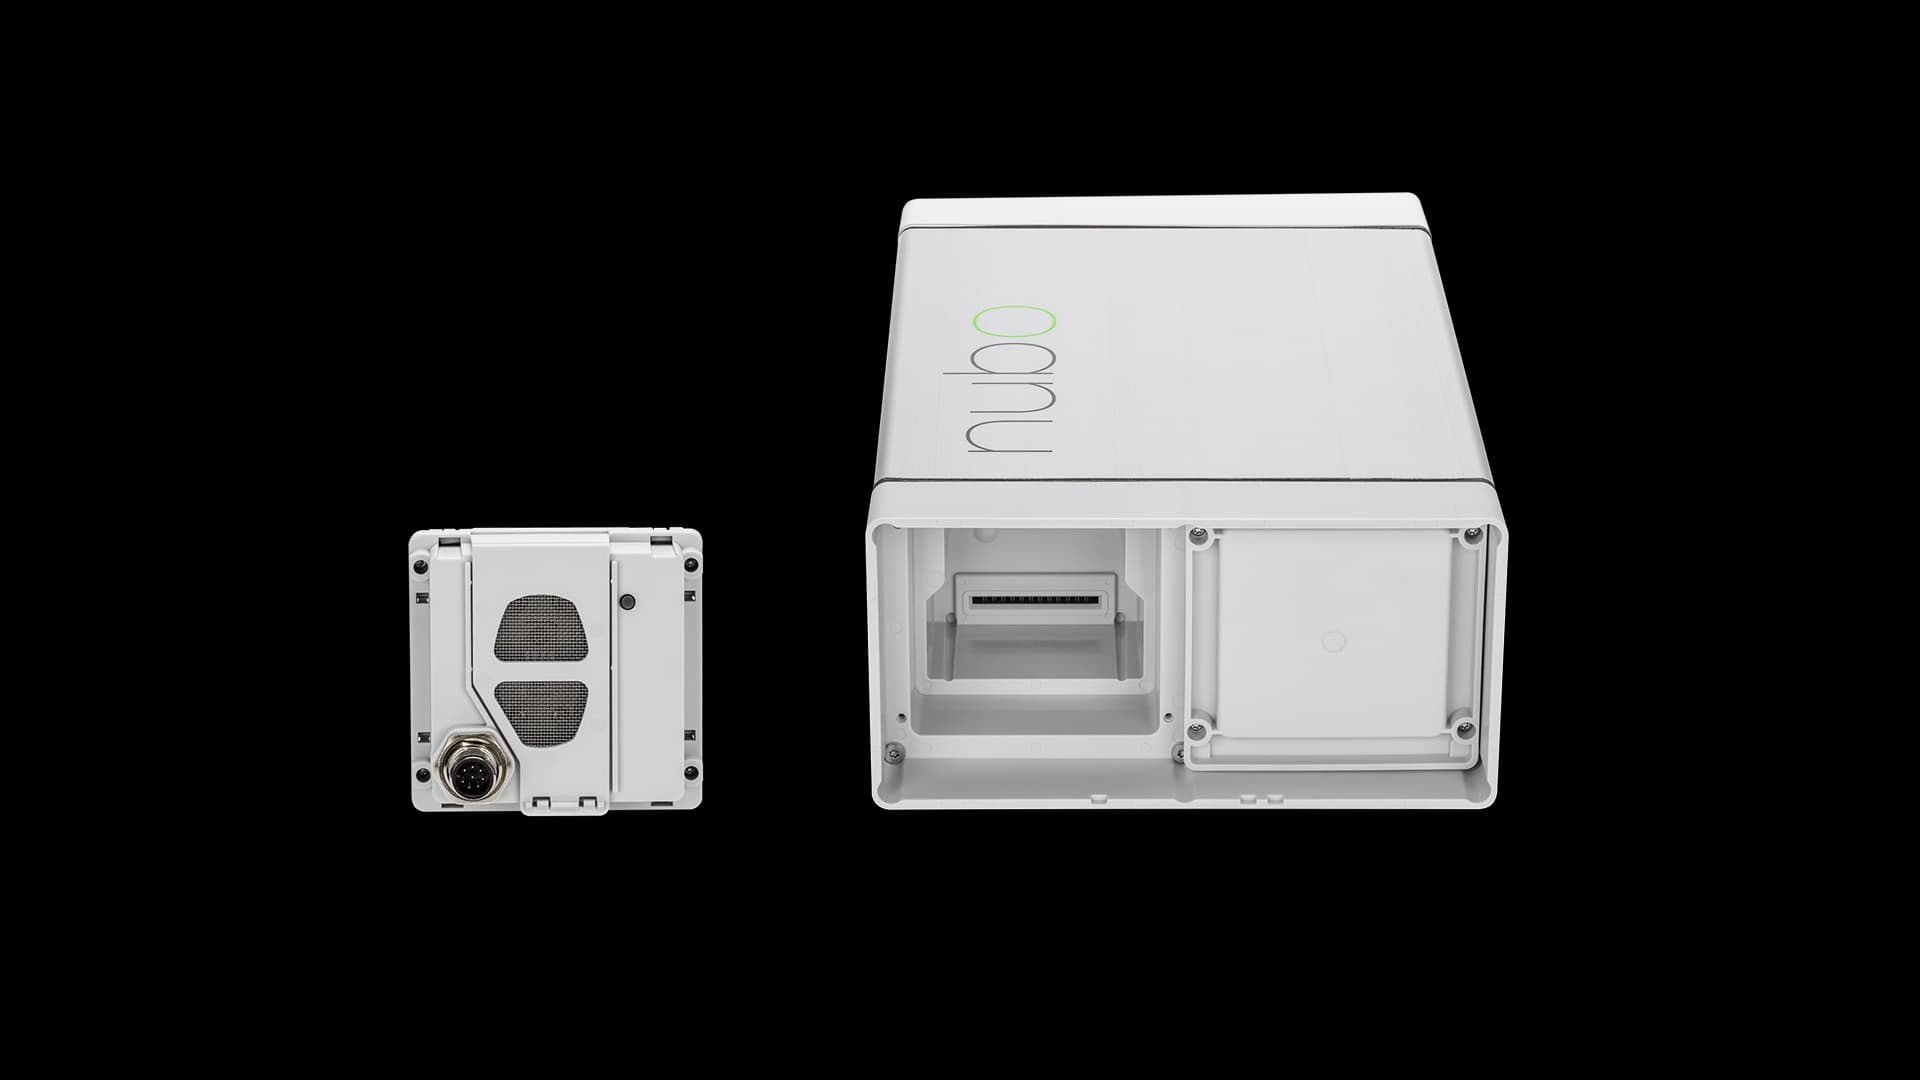
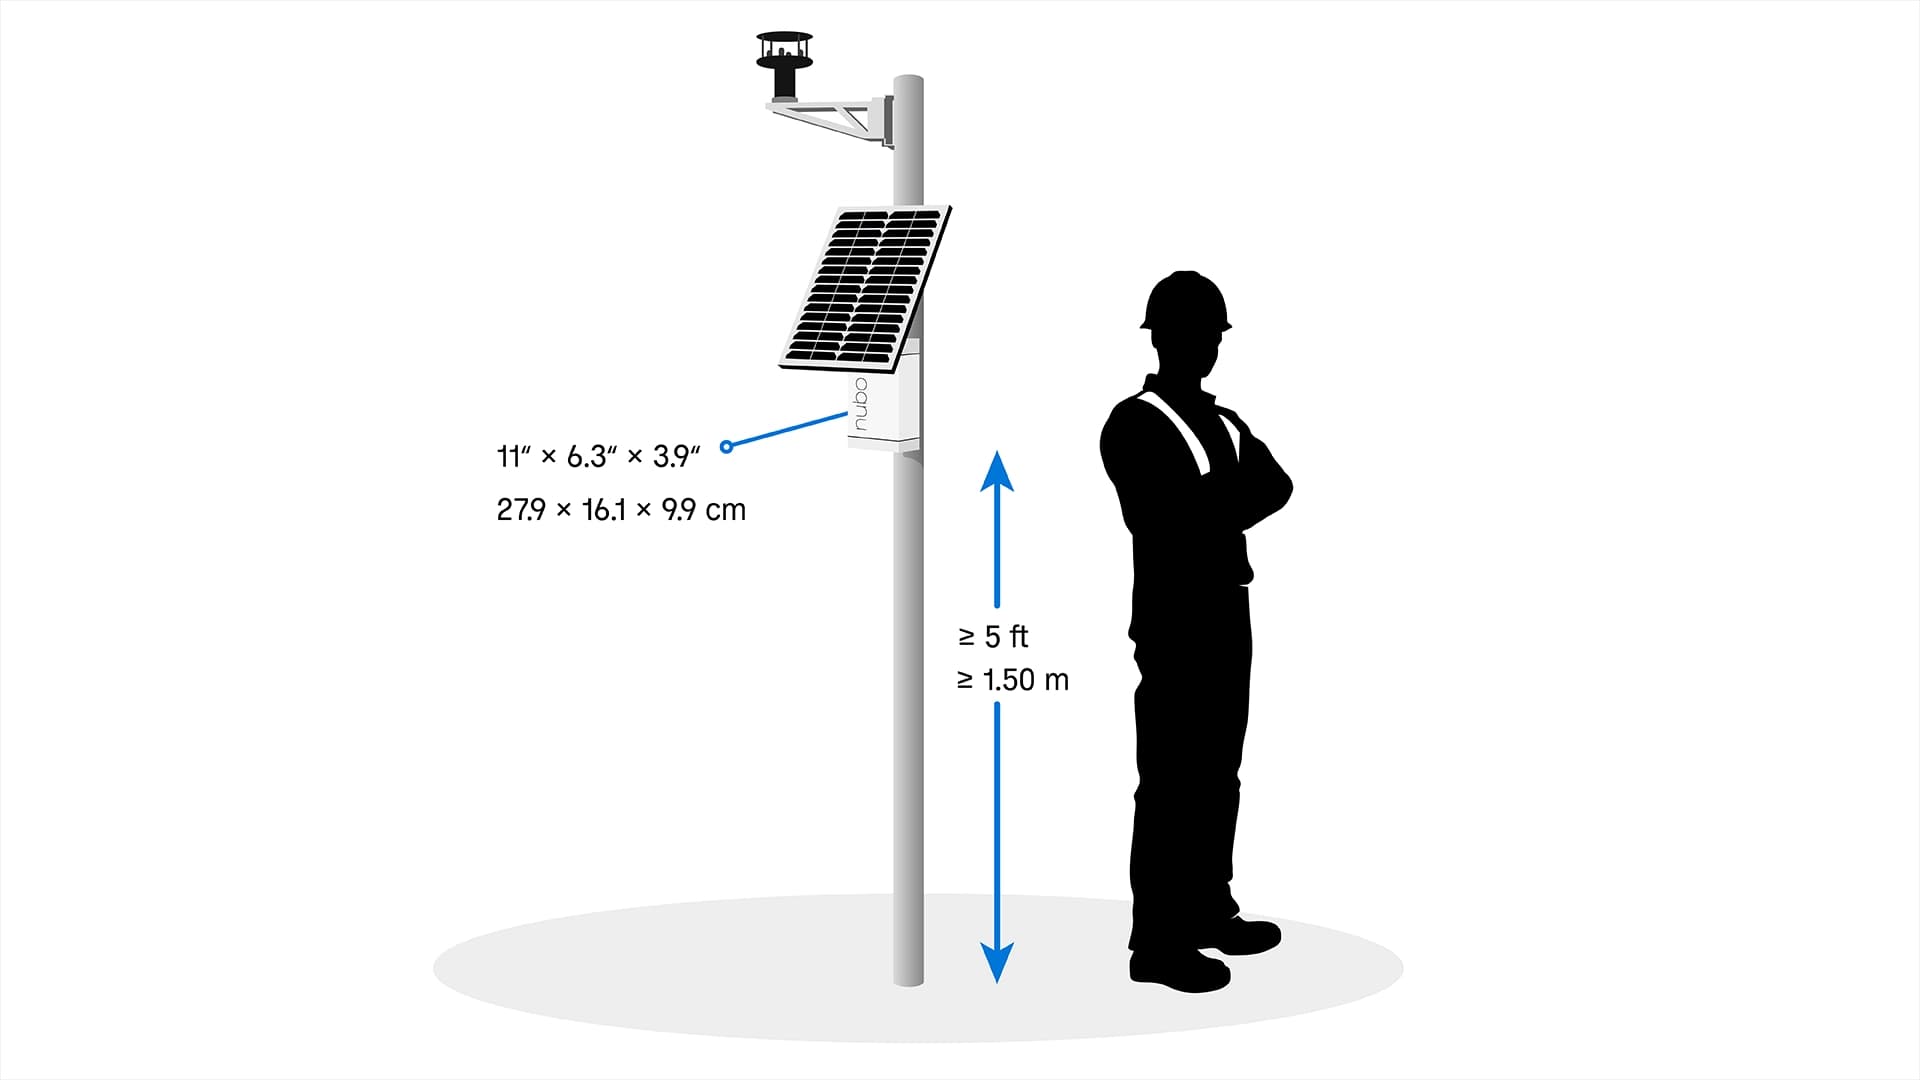
Designed to be reliable, robust and future proof, the Nubo Sphere sensor node is your gateway to 24/7 actionable insights, all at a low cost of ownership. Gone are the days of complex installations. You'll have our sensor node up and running in just three simple steps, thanks to its intuitive plug-and-play design with LTE connectivity and GPS positioning. Built to thrive in the harshest environments, it is designed to operate autonomously, ensuring seamless functionality no matter what the challenge. From device registration to the delivery of actionable insights, our sensor node promises operational efficiency, with setup taking less than 15 minutes from start to finish. Whether you prefer an online or offline installation process, we've got you covered, ensuring flexibility to meet your specific needs. Experience the simplicity, reliability and future-proofness of our sensor node today and unlock a new era of data-driven decision making.


